Pages

Showing posts with label pinterest. Show all posts

Monday, April 20, 2015

Crafting Differently

Normally, I blog about yarn and knitting and crocheting. This week, I'm trying some ideas I found on Pinterest.

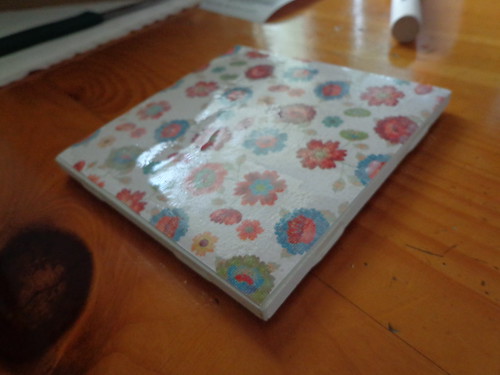
First: tile coasters.
The instructions I followed are from this blog. The blogger is clear and has a lot of pictures, making it easy to follow along. I was originally inspired by this pin, but, obviously upon further looking, it links to an Etsy seller. So I sought out DIY instructions, leading me to the previosly mentioned blog.

My Materials (Using Something Like Susie Homemaker's list and altering it):
  1. 4 1/2 x 4 1/2 inch tiles --from Menards-- 12¢ each-- might've been on sale
  2. Sheets of felt in desired colors-- you won't really see this, I had green, maroon, & black on hand. If you pay more than 30¢ for an 8x11" sheet, you are being robbed. Michael's has them for 26¢ (I think).
  3.  Scrapbook paper-- My sister and I did our fair share of scrapbooking, like 3 years ago, so I have one of those really big stacks that orginally cost $20, with a 40% coupon or something. If you don't have that, Michael's has open stock paper- a 12" x12" sheet will cover 9 tiles. Get several coordinating prints for variation! (Shouldn't cost more than a few dollars)
  4. Decoupage -- The blogger uses Mod Podge, which is too expensive for me, so I substituted-- 2:1 white glue & water. Mod Podge is just paste anyway.
  5. Hot glue gun-- if you're a crafter, you don't need to go out and buy this, so I don't count it in final costs.
  6. Scissors and ruler OR Paper cutter--- I am investing in a paper cutter after this. Scissors and ruler were not precise enough-- I actually took my scrapbook paper to work to do the cutting part. Joann's has a Fiskars for $25.
  7. Sponge brush-- Hardware store, 69¢
  8. Clear Acrylic Spray-- my mom had this already. Triple coat glaze, Krylon. probably $5 if purchased new.
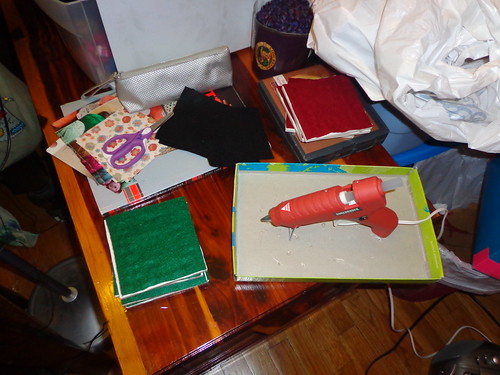
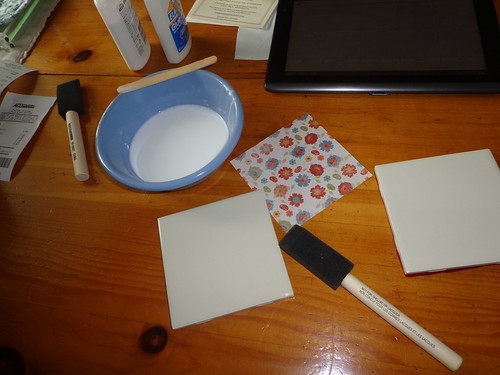
Gluing Felt
two piles of felt covered tile!
Gluing paper in progress
Preparing to glue
Paper glued
First coat of glue

Note: cutting felt during the season finale of Castle is not a good idea. My edges were crooked. I personally cut a bit bigger than needed, just in case. I trimmed them after I glued. I do my best hot gluing before bed, which means I don't get impatient about the next step.

Note: Magazine pages do not work, they are too thin.

16 tiles $2.04
2 sheets of felt $.60
Paper $1.00
Sponge Brush $.69
Total $4.33


Second: polymer clay charms
Inspiration: this pin, step-by-step here.
Gifts for bridesmaids, to be made into keychains.

Polymer clay costs around $2.99, depending on the brand, and whether or not you have a coupon.
I used leftovers from my yarn bowl projects for all of these.
Stamps I had on hand.
Jewelry findings I had on hand. Eye pins are under $5 for a pack of either 50 or 100. Same for the jump rings. The key rings are a bit more expensive- $5 for a pack of 10, 1-1/4"
Acrylic paint borrowed from sister.
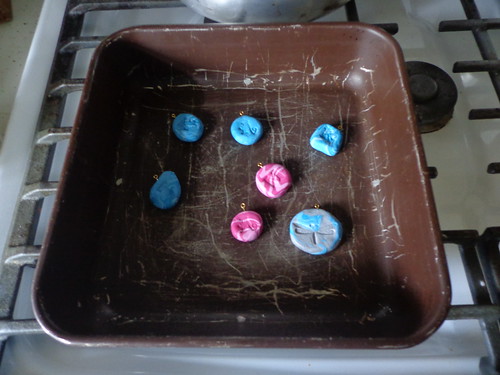

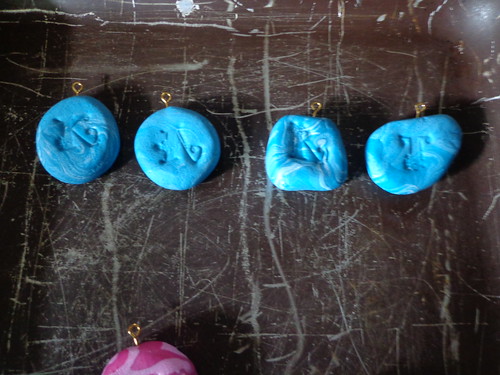
after baking
First batch of charms!

Letter close-ups
Close-up

Wednesday, December 19, 2012

Pinspiration

My cousin T has totally inspired me to actually use Pinterest, as she is doing a totally hand-made Christmas this year. I think that is super awesome, and I want to do the same next year.

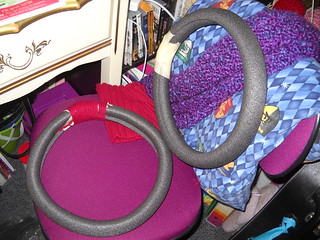
My first Pinterest project was based on this idea which used pipe insulation as a wreath base. I purchased several packages of pre-cut insulation, unlike the original poster. Each package came with 4 pieces, and they are cut in 3 foot lengths, which works well for me. I've made several wreaths using this method, and I like it.
Wreath forms

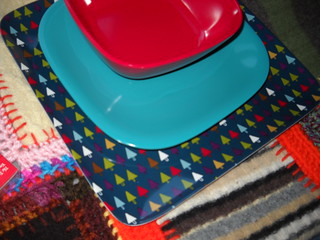
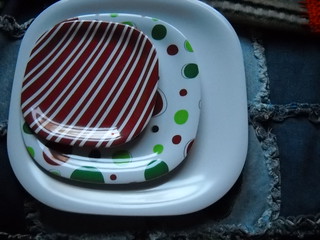
set 1Number Two came from my cousin, who made this cool project for my mom, who has used it at numerous parties this summer. I bought Christmas-y dishes on Monday when out with my mom, and while they will probably stay apart for now, I'm hoping to assemble them by next year.

set 2


The third project comes from a need for a better craft show display. Using items I already have on hand, I will be making this "bow holder" for my flower hair clips for next year's craft shows.

I'm actually in the process of making 2 more wreaths for Christmas gifts, as the greatest inspiration comes to me in the shower, and I realized I had the perfect yarn to make some holiday wreaths.

My post is up late(r) today because I spent the morning working on two of the above projects. Both of these projects are under $10, as long as you have the supplies on hand.

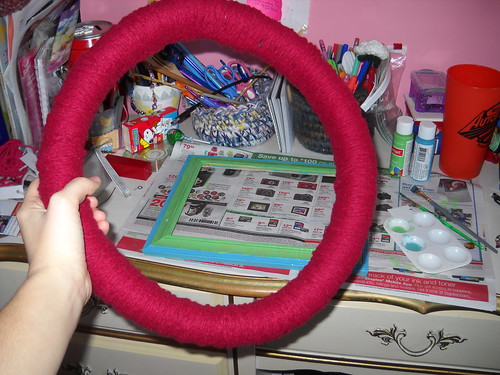
For the wreaths, I used masking tape and hot glue to hold the ends together (A Note on the hot glue-- it melts the pipe insulation, but provides enough of a bond to hold the ends together while I taped).
covered wreath.
Wreath in foreground, frame in background
For the picture frame, I used acrylic paint, not because there was no spray paint in my house, but because Michigan weather in the winter does not agree with the spray paint requirements of "between 50 and 90 degrees".  And I am impatient. Luckily, I have 2 artist (in the traditional sense) siblings, so paint and brushes are common in our house too. It helped that I did the wreath forms first, because then I switched to the frame, but then back again to the wreaths while the paint dried.

Yummy

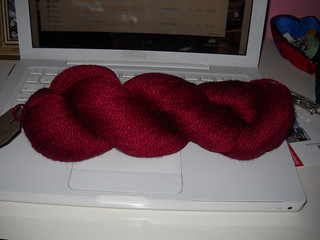
Even though I am in the midst of several projects, I always feel the need to start one more. I've had this beautiful skein of Fyberspates yarn in my stash since June, and I know what it wants to be. But with all my other projects, ones that really need to be finished, I can't really ball this yarn yet. Soon though, really soon.

Linking with Tami and Ginny for WIPW & Yarn-Along